
How to Lay Carpet Tiles: A Step-by-Step Guide
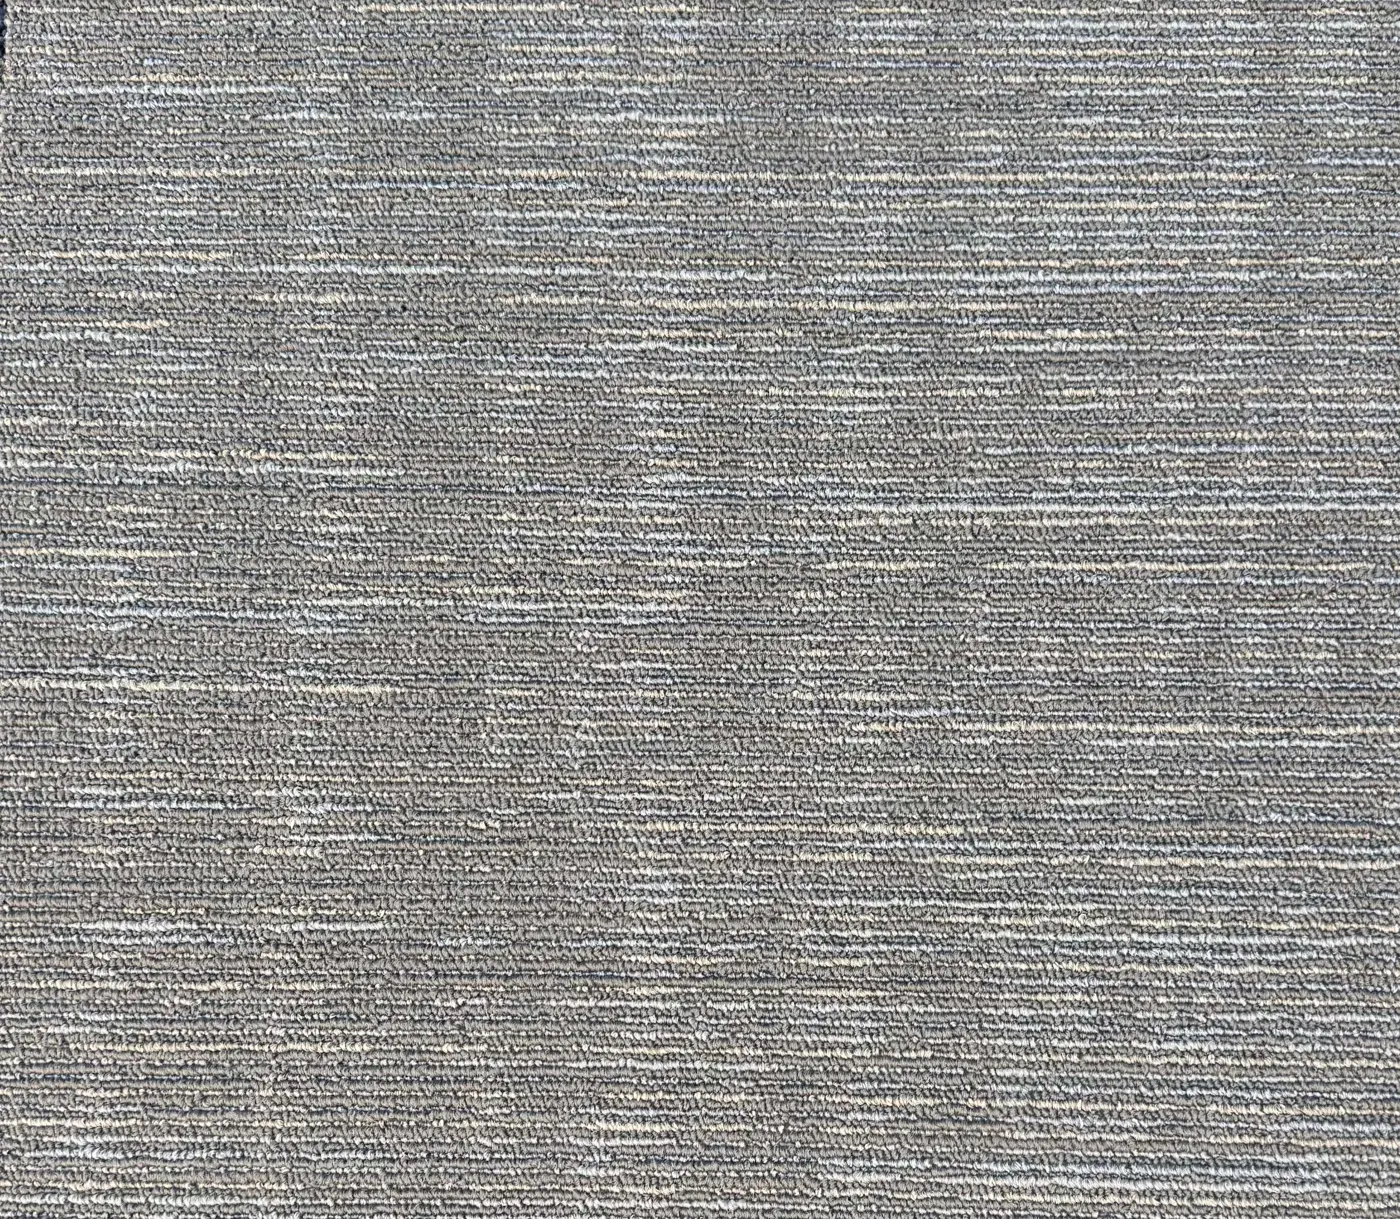
To lay carpet tiles, prepare a clean, dry and level subfloor, plan a square layout, dry-lay a few rows, then fit the tiles using the fixing method specified for their backing. Keep the joints snug without forcing the tiles together, and cut the perimeter pieces last.
The laying itself is often straightforward. The preparation is what stops tiles moving, edges lifting and the finished floor looking uneven.
This guide covers commercial carpet tiles, including reclaimed tiles and brand-new nylon stock. These are not necessarily peel-and-stick tiles: check the backing and installation instructions before buying adhesive or starting work.
What you need to lay carpet tiles
- A tape measure, pencil and chalk line.
- A square and a metal straightedge.
- A suitable flooring knife with sharp replacement blades.
- A stable cutting board or sacrificial surface.
- A vacuum cleaner and the appropriate floor-preparation materials.
- The recommended tackifier, connectors or other approved fixing system.
- The applicator specified for that fixing system, plus any roller the instructions require.
- Suitable protective equipment for cutting and handling adhesive.
Before you start, identify the tile manufacturer and backing if possible. Check the instructions for the tile, adhesive and subfloor, not just the brand name. If you cannot identify reclaimed tiles, ask your supplier or a fitter for advice rather than guessing which adhesive will work.
1. Measure the room and allow for cuts
Measure the length and width of each rectangular area in metres, then multiply them to find the floor area in m². Split an irregular room into smaller rectangles and add the areas together.
A 50 × 50 cm carpet tile covers 0.25 m², so four tiles cover 1 m². For example, a room measuring 5 m × 4 m is 20 m² and needs 80 full tiles before allowing for cuts and spares.
Order extra for edges, doorways and future replacements. The amount depends on the room shape and laying pattern; a simple rectangle needs fewer cuts than a room with alcoves and angled walls. Work out your layout before deciding how much extra to buy.
With reclaimed stock, check that there is enough of the same colour and compatible tile type for the whole room. Sort the tiles before laying, setting aside any with damaged backing or edges. Keep your best-looking tiles for the most visible areas and suitable spare tiles for repairs.
Browse our used and new carpet tiles, or read the Ireland carpet tile price guide to compare your flooring budget.
2. Prepare the subfloor properly
The subfloor must be sound, clean, dry, smooth and suitably level. Carpet tiles do not fix an uneven or damp floor.
Remove loose material, dust, grease and anything that could prevent the fixing system from bonding. Repair damaged areas and use compatible preparation products where needed. Do not put fresh adhesive over unknown old adhesive without checking compatibility.
Laying carpet tiles on concrete
Concrete can look dry while still containing too much moisture for the flooring system. Have moisture tested to the tile and adhesive requirements; do not rely on appearance alone. Where required, pH testing, a primer or a suitable moisture-control system should be specified by a flooring professional.
Do not install over an active damp problem. Fresh concrete and levelling compounds must meet their specified curing and moisture requirements before flooring goes down.
Laying carpet tiles on timber
Check that boards or panels are secure, stable and suitable for the chosen system. Movement, protruding fixings and uneven joints need addressing first. Some floors need a suitable flooring-grade overlay; ask a fitter which preparation is appropriate rather than covering a moving floor with tiles.
Can you lay carpet tiles over carpet or underlay?
For the commercial tiles covered here, do not treat existing carpet or soft underlay as a suitable base. A soft surface allows movement and can leave joints and edges unstable. Remove it and prepare the underlying floor unless the exact product instructions explicitly allow another construction.
Existing hard flooring is a separate question: it must be sound, compatible and properly prepared, and the manufacturer must permit that installation. Never sand, scrape or disturb suspect old flooring or adhesive that could contain asbestos—get specialist advice first.
3. Let the tiles acclimatise
Bring the tiles into the installation room and condition them as the manufacturer directs. This allows them to adjust to the room before fitting.
There is no single acclimatisation time for every carpet tile. For example, Burmatex specifies at least 48 hours in its fitting guidance, while Shaw's EMEA guidance specifies at least 24 hours under its stated conditions. Storage and transport conditions can also affect what is needed.
Follow the requirements for your actual product, including room temperature, humidity, unpacking and stacking. Do not fit tiles straight from a cold van simply because the surface feels ready.
4. Plan the layout before applying adhesive
Do not assume the walls are straight or square. Starting in a corner and following a wall can produce a floor that gradually drifts out of line.
- Mark a starting line through the room using a chalk line.
- Mark a second line at a right angle and check it with a square.
- Dry-lay a row of tiles in both directions, without fixing them.
- Check the size of the cuts at opposite walls and around doorways.
- Adjust the starting lines to avoid awkward narrow strips and balance the perimeter cuts where possible.
The centre of the room is a useful starting point for planning, but it is not a rule that overrides the layout. Doorways, adjoining rooms and the pattern may call for a different starting position.
Which way should the arrows face?
Many commercial tiles have arrows on the backing. These show the pile or pattern direction. The permitted laying method depends on the product:
- Monolithic: arrows run in the same direction.
- Quarter-turn: neighbouring tiles are rotated by 90 degrees.
- Other layouts: some tiles permit non-directional or offset arrangements.
Only use a method approved for that tile. Dry-lay a small group and look at it in the room's lighting before committing. On reclaimed tiles, previous wear and shading can make the direction particularly noticeable.
5. Use the correct tackifier or fixing system
Many commercial carpet tiles use a pressure-sensitive tackifier. It helps hold the tiles in place while allowing individual tiles to be lifted later. It is not the same as choosing any permanent carpet glue.
Other tiles use manufacturer-approved connectors or adhesive-free systems. Do not assume that all tiles can be loose-laid, fixed with ordinary double-sided tape or installed with the same adhesive.
If using tackifier:
- Confirm that it is compatible with the tile backing and prepared subfloor.
- Read its application instructions, including coverage, ventilation and any primer requirement.
- Apply it evenly with the specified applicator, without puddles.
- Wait until it reaches the required dry or tacky state before laying.
Do not lay into wet tackifier unless the product instructions explicitly require it. Installing too early can create an unwanted permanent bond and make later removal difficult. Drying depends on the adhesive and site conditions, so there is no reliable universal “wait 20 minutes” rule.
For budgeting, tackifier is roughly €50–€100 per 100 m². Check the actual product's coverage and your floor conditions before deciding how much to buy; floor preparation and labour are separate costs.
6. Lay the full tiles from your reference lines
Start at the intersection of your planned lines and build out in a controlled sequence, checking alignment as you go.
- Follow the approved direction or pattern.
- Fit edges snugly, without squeezing or forcing tiles together.
- Keep carpet fibres out of the joints.
- Check regularly that rows remain square to the reference lines.
- If a gap appears, check the alignment and tile edges rather than pushing the whole row harder.
Use any rolling or finishing method specified by the manufacturer. Do not assume that a heavy roller is appropriate for every backing and fixing system.
Reclaimed stock deserves an extra check as you work: tiles from different products can look similar but differ in size, thickness or backing. Do not mix incompatible tiles into one floor.
7. Cut the perimeter tiles and fit the doorways
Measure each edge piece individually; walls are rarely perfectly straight. Mark the cut while keeping track of the tile's direction, and use the cutting method recommended for its backing.
Cut on a stable protective surface with a metal straightedge. Keep your free hand out of the blade path, cut away from your body and replace blunt blades safely. Do not cut directly on the finished floor or hold a tile in your hand while cutting it.
Fit the perimeter without bowing or crushing the tile. Follow any edge or expansion requirements for the product. Around doorways, allow for door clearance and use suitable transition trims where the floor meets a different covering.
If the layout is intricate or the tiles are difficult to cut cleanly, a fitter can save a lot of wasted material.
8. Check the finished floor before using it
Walk the floor and inspect the joints, edges and transitions. Check that tiles sit flat, no fibres are trapped and doors open freely. Vacuum away loose fibres and retain spare tiles for later repairs.
Follow the adhesive manufacturer's instructions for when furniture, foot traffic and wheeled loads can return. Do not assume the floor is ready for heavy use as soon as the last tile is down.
Raised access floors and underfloor heating
Raised access floors: check that panels are stable and level, use a compatible fixing system and keep the access panels serviceable. Avoid allowing adhesive to bond panel joints together. Tile layout and panel layout need to be planned together; use the manufacturer's access-floor instructions.
Underfloor heating: confirm that the tile, backing and adhesive are approved for your heating system. Permitted temperatures and switching-off/restarting schedules vary, so follow the specific instructions. A temperature limit quoted for one product is not permission to use it with another.
Common carpet tile installation mistakes
- Covering a damp, dusty or uneven floor instead of preparing it.
- Buying adhesive before identifying the backing.
- Starting against an out-of-square wall without reference lines.
- Ignoring arrows and mixing laying directions accidentally.
- Installing into tackifier before it reaches the required state.
- Forcing tiles together or trapping fibres between edges.
- Ordering exactly the measured area with no allowance for cuts or repairs.
Frequently asked questions
Do carpet tiles need to be glued down?
They need the fixing method specified for the product. Many commercial tiles use tackifier; others use approved connectors or adhesive-free systems. Do not assume they can be laid loose or use permanent glue by default.
Can I lay carpet tiles myself?
A small, simple room with a suitable prepared floor can be a manageable DIY project. Moisture problems, major levelling, raised floors, heating and large commercial spaces are good reasons to use an experienced fitter. The preparation matters as much as placing the tiles.
How many 50 × 50 cm carpet tiles cover a square metre?
Four cover 1 m². A 20 m² room needs 80 tiles before allowing for cuts and spares. Different tile dimensions require a different calculation.
Can used carpet tiles be laid like new ones?
The layout principles are similar, but inspect and sort used tiles first. Check their backing, dimensions, condition and fixing compatibility. Choose a grade suited to the room: B-grade tiles are worn and suit events, film sets, temporary flooring and some offices—not home use. See how we grade our used carpet tiles.
Why do some tiles look a different shade after laying?
Pile direction, lighting, batch variation and previous wear can all affect appearance. Check the arrows and approved layout before changing tiles. A dry layout helps you spot differences before fixing a whole room.
Choosing tiles for your project in Ireland
We supply used carpet tiles, mostly Interface, and new nylon tiles from brands including Burmatex, Zetex, Shaw Contract and Christy Carpets from Saggart, Dublin. Our new range includes matching clearance stock gathered in larger colour lots so projects can have a uniform finish.
Tell us the floor area in m², what the space is used for and your preferred colour. We can confirm the stock available and help you choose a suitable grade. Browse the current stock or request a quote.
Manufacturer installation references
This is general guidance, not a replacement for product-specific instructions. Check the latest version for your tile and fixing system: